Tray Ceiling Paint Ideas: Designs and Colors
Are you looking for some painted tray ceiling paint ideas? If so, you're in luck! In this blog post, we will discuss several different designs and colors that you can use to make your tray ceiling look amazing. We'll also provide tips on how to choose the right paint color and design for your home. So, whether you're looking to update your current tray ceiling or are just starting out with this type of design, read on for some great inspiration!
1. What is a tray ceiling and what are the benefits?
When you hear the term "tray ceiling," you might think of a fancy hotel room or a posh dining room. But what exactly is a tray ceiling, and why might you want one in your home? An entire tray ceiling is simply a ceiling that has been raised up to create a recessed ceilings area. This can give the illusion of taller ceilings and more space, and it can also provide an opportunity to add architectural interest with crown molding or other details. In addition, tray flat ceiling can help to deflect noise, making them a good choice for bedrooms or other quiet spaces. Whether you're looking to add a touch of luxury or simply want to make your tray walls look higher, a tray ceiling is a great option.
2. Tray ceiling ideas
Tray ceilings are often found in formal living rooms and dining rooms, but they can also add an elegant touch to bedrooms and kitchens. When it comes to painting a tray ceiling, there are many options to choose from. One popular approach is to paint the center focal point in a light color, and the perimeter in a darker shade. This creates a subtle contrast that can help to accentuate the architectural details of the tray ceiling lighting. Another option is to use two shades of the same color, or even three shades for a more dramatic effect. Painting stripes or other patterns on the tray ceiling can also be a beautiful way to add visual interest to the room. Whatever approach you choose, make sure to consult with a professional painter before getting started. With their help, you’ll be able to create a stunning double tray ceiling with beautiful wall color designs that enhance the look of your home.
4. Colors that will make your tray ceiling pop
When choosing colors for a tray ceiling, it's important to consider both the shape of the space and the overall design of the room. In general, light colors for example white tray ceiling will make a space feel more open and airier, while dark colors can add dramatic contrast and make a room feel more intimate. For a tray ceiling that pops, try painting the raised center section in a light color and the border in a darker hue. Or, for a more subtle look, paint the whole ceiling in one color and use molding to create the illusion of depth. With so many possibilities, it's easy to find colors that will make your tray ceiling pop.
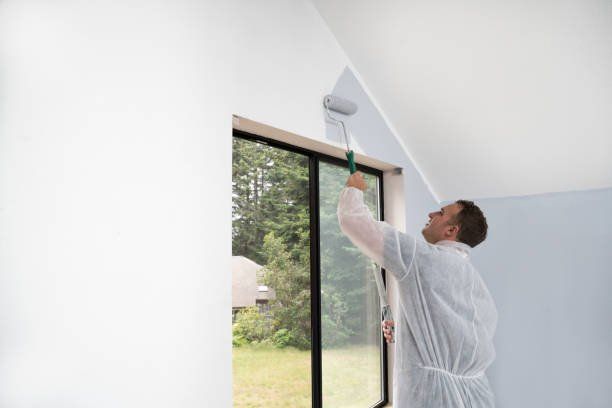
5. How to paint a tray ceiling
Tray ceilings are a great way to add dimension and interest to a room, and they’re not as difficult to paint as you might think. Here’s how to do it:
1. Start by measuring the width and length of the ceiling and determining the size of the tray. Add an extra inch or two all the way around to allow for trimming.
2. Cut out a piece of cardboard or poster board that’s the same size as the tray. This will be your template.
3. Use a pencil to mark the center point of each wall on the ceiling. Then, connect the marks with a straight line to create a cross in the center of the ceiling. This is your starting point for painting.
4. Tape off the edges of the tray with painters’ tape. Be sure to press down firmly so that paint doesn’t seep under the tape.
5. Paint the tray using a brush or roller designed for use with latex paint. Work from the center out, using long, even strokes. Let the first coat dry completely before adding a second coat, if necessary.
6. Once the paint is dry, remove the tape and enjoy your new tray ceiling!
6. Painting tips for creating a flawless finish
When it comes to painting, there are a few things you can do to ensure a flawless finish. First, always start with a clean surface. Whether you're painting a wall or a piece of furniture, make sure to give it a good wipe-down with a damp cloth before you start painting. This will help to remove any dirt or debris that could potentially interfere with the paint's adhesion. Next, be sure to use painter's tape to create crisp lines and avoid unintentional brushstrokes. And finally, always allow your paint to dry completely before adding any additional coats - rushing the process will only result in an uneven finish. By following these simple tips, you can achieve a professional-looking paint job that will last for years to come.
7. Benefits of hiring professional painters
Many people choose to paint their homes themselves in order to save money. However, there are several advantages to hiring professional painters that are often overlooked. First of all, professionals have the experience and expertise to get the job done quickly and efficiently. They also have access to high-quality equipment and materials that can produce superior results. In addition, professional painters typically offer warranties on their work, ensuring that you will be satisfied with the final product. When you hire a professional painter, you can be confident that your home will look its best.
You might also like


Book A Service Today