A Complete Interior Paint Guide
Interior Painting Tips For A Flawless Finish
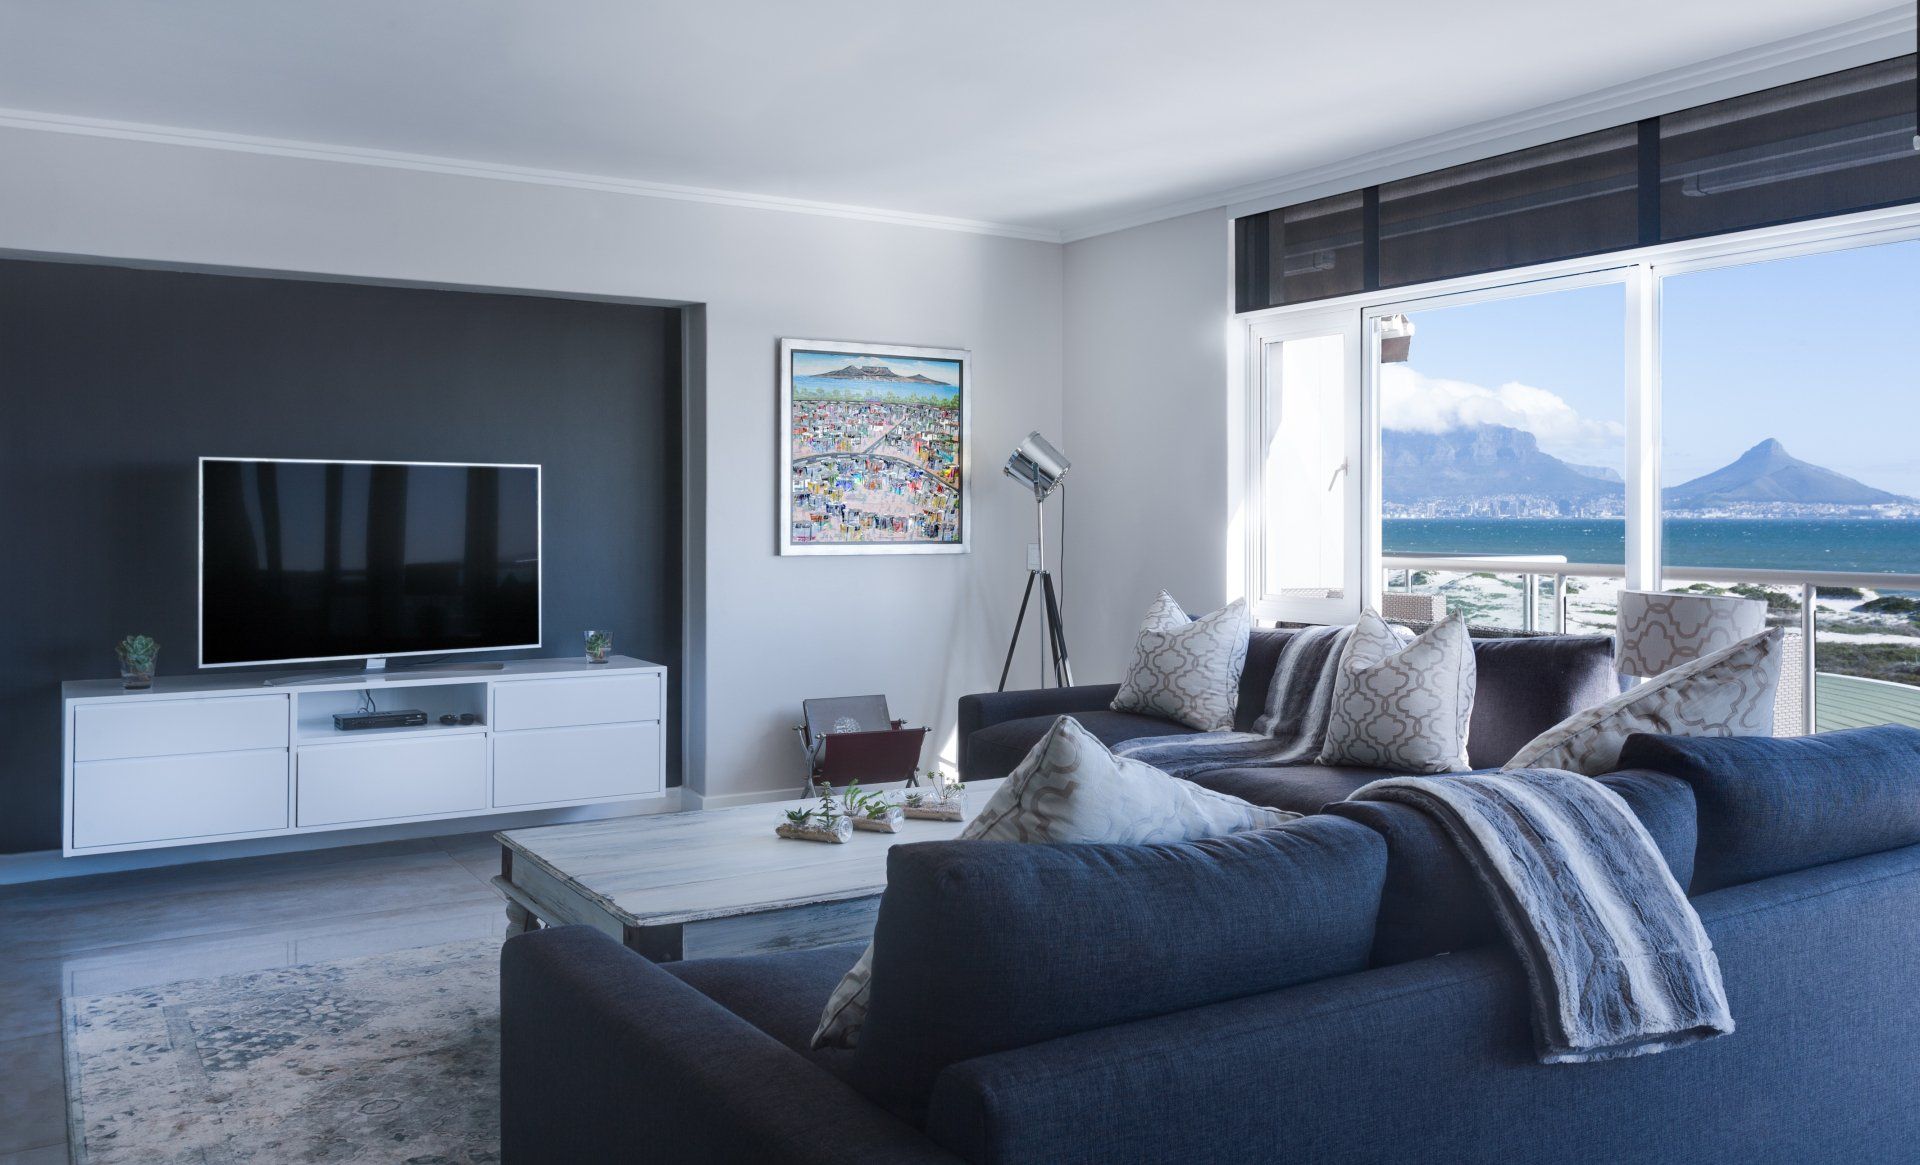
Painting the interior of your home can be a fun and exciting project, but it's important to keep in mind a few key things before you get started. In this blog post, we will discuss some of the most important things to consider when getting the interior your home painted. We'll cover everything from paint types to prep work to color selection. So if you're considering getting your home's interior painted during the fall and winter months, be sure to read on for some helpful tips!
Our Step By Step Guide To Paint The Interior of Your Home
1. Prep The Walls
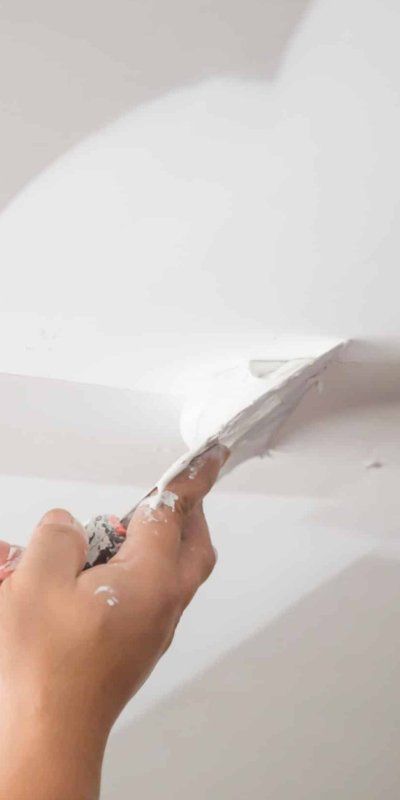
Before you start painting your walls, you need to do some prep work. First, remove all of the furniture from the room and cover it with drop cloths or old sheets. Then, use a sponge or brush to clean the walls, removing any dirt or debris. Once the walls are clean, you'll need to patch any holes or cracks. You can use spackling compound for small damage and joint compound for larger areas. Once the holes are filled, sand them down until they're smooth. Then, wipe the dust off with a damp cloth and you're ready to prime and paint!
2. Choose The Right Paint Type
Choosing the right paint type is essential for getting good results when painting your interior. There are a few things to consider when making your selection. One is the type of surface you'll be painting. Latex paint is a good choice for most walls, but if you're painting over a previously painted surface, you may want to use oil-based paint.
Another factor to consider is the level of durability you need. If you have kids or pets, you'll want paint that's easy to clean and resists stains. Finally, think about the look you want to achieve. Flat paint is best for most walls, but if you're looking for a more dramatic effect, semi-gloss or high-gloss paint might be a better choice. With so many options available, it's important to take the time to choose the right paint type for your project.
3. Select A Color Scheme
There are many ways to create a color scheme, but the most important thing is to select colors that work well together and complement the existing décor. Once you have selected a color scheme, it is time to choose the paint colors.
There are many factors to consider when choosing paint colors, including the light levels in the room and the size of the space. However, the most important thing is to select colors that you love and that will make you happy every time you look at them. With a little effort, you can transform your home into a beautiful and inviting space that reflects your unique style.
4. Tape Off The Trim And Other Areas That You Don't Want To Be Painted
You need to tape off the trim and other areas that you don't want to be painted. This will help ensure clean lines and prevent paint from getting where it doesn't belong. Next, you need to lay down drop cloths or plastic sheeting to protect flooring and furniture from paint drips and splatters. Once you've done that, you're finally ready to start painting your walls!
5. Apply Primer If Needed
If your walls are in good condition and have been previously painted, you may not need to do anything more than wash them down with soap and water. However, if you're painting over bare drywall or plaster, you'll need to apply a primer first. Primer provides a smooth surface for the paint to adhere to and also helps to hide imperfections in the wall. It's worth taking the time to apply primer before painting, as it will ensure that your paint job looks its best.
6. Paint The Walls
Now it's time to start painting! Start by painting the edges of the walls first, then work your way in. To get good coverage, use a roller and paint brush to apply even layers of paint. Remember to let each coat dry before applying the next one. When you've finished painting, be sure to remove all of the tape and drop cloths. Then, let the paint dry completely before moving any furniture back into the room.
7. Let The Paint Dry Completely Before Moving On To The Next Step
To produce a professional-looking result, let the paint dry completely before moving on to the next step. If you try to apply a second coat of paint while the first coat is still wet, you will end up with an uneven finish. The same goes for any other type of painting project, whether you're working on a piece of furniture or a set of cabinets. So, if you want your paint job to turn out looking its best, be sure to let the paint dry completely before moving on.
8. Paint The Trim And Doors
Once you've finished painting the walls of your room, it's time to move on to the trim and doors. Painting the trim can be a bit tedious, as you have to be careful not to get paint on the walls or floors. But it's worth taking the time to do a good job, as freshly painted trim can really brighten up a room. When painting the doors, be sure to use a primer first, as this will help the paint to adhere better and prevent chipping.
9. Add Finishing Touches
Now it's time to add any finishing touches you'd like. This could include adding a new coat of paint to furniture, painting wall art, or even stenciling designs onto the walls. If you're feeling creative, this is your chance to really make your room stand out from the rest! Just remember to let each layer of paint dry completely before adding the next one.
Enjoy Your New, Freshly Painted Home!
Once you've finished painting, take a step back and admire your work. You should be proud of yourself for transforming your home into a beautiful and inviting space that reflects your unique style. Now it's time to enjoy the fruits of your labor! Invite family and friends over to see the transformation, or simply sit back and relax in the comfort of your freshly painted home. Enjoy!
If you are looking for professional painting services, then feel free to reach out and we will help you with any project you may have. For interior or exterior to residential to commercial, no job is too small or too big!
You might also like


Book A Service Today